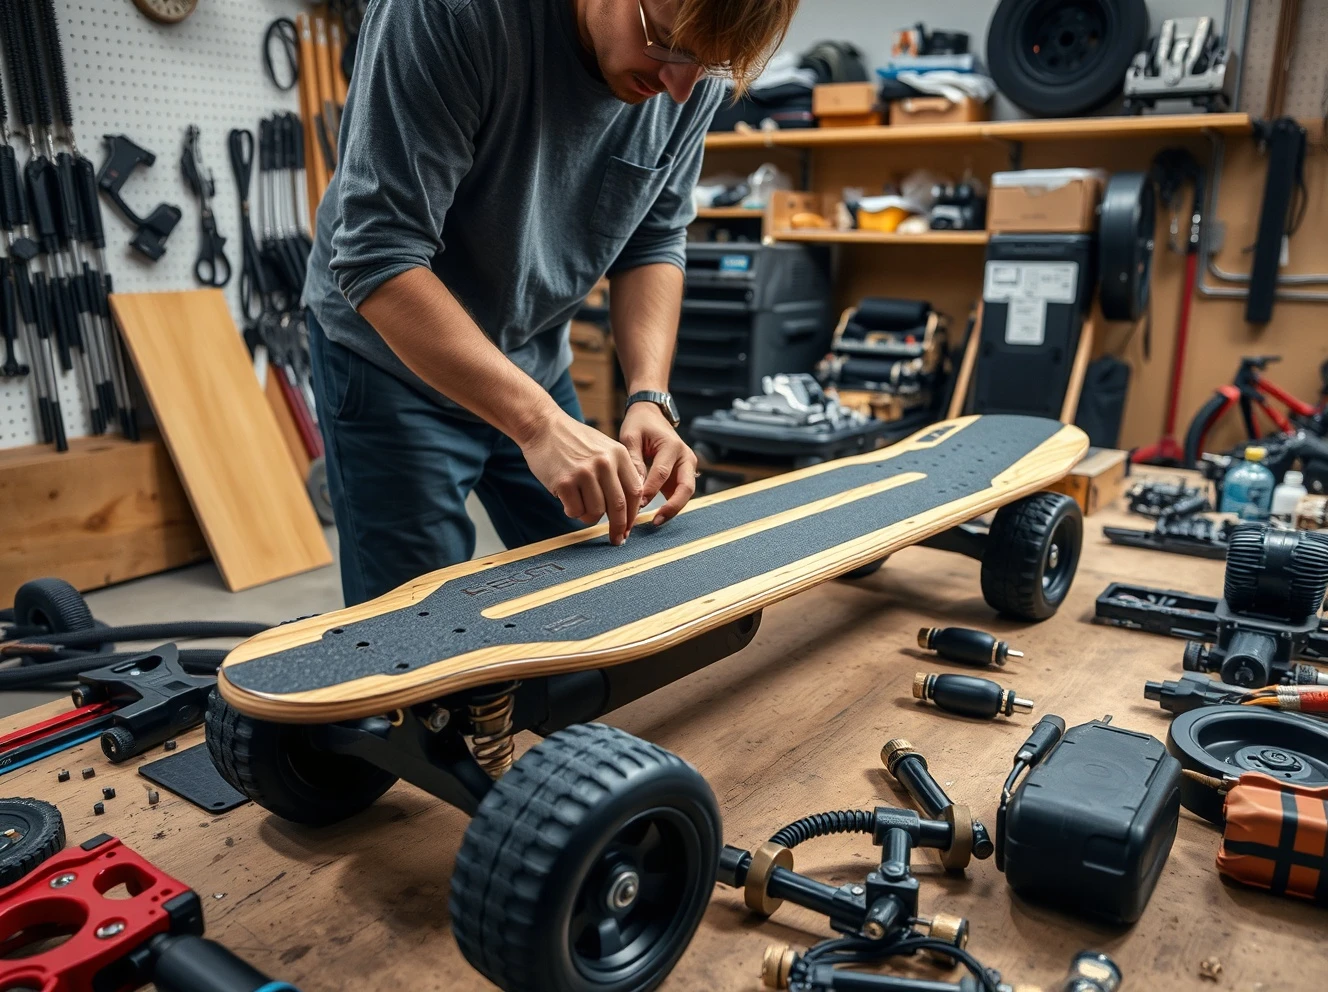
Are you ready to transform your commute or weekend adventures? Building your own electric skateboard offers an unparalleled sense of accomplishment. Furthermore, it allows for complete customization, letting you tailor every aspect to your preferences. Imagine cruising on a board perfectly suited to your style and local terrain. This comprehensive guide will walk you through the entire process, from selecting components to your first test ride. Consequently, you will gain valuable hands-on experience and save money compared to buying a pre-built model. Get ready to embark on a rewarding DIY journey and create your dream electric skateboard!
Why Build Your Own Electric Skateboard?
Many enthusiasts choose to build their own electric skateboard for several compelling reasons. Firstly, customization stands out as a primary benefit. You can select specific components that align with your riding style, desired speed, and range. This level of personalization is often unavailable with off-the-shelf models. Secondly, cost savings are significant. While initial component purchases might seem high, a DIY build typically costs less than a comparable pre-built high-performance board. Therefore, you get more value for your investment.
Moreover, the learning experience is invaluable. As you assemble each part, you gain a deep understanding of how your electric skateboard functions. This knowledge proves incredibly useful for future maintenance and troubleshooting. Finally, there is immense satisfaction in riding a machine you created yourself. It is a testament to your skills and dedication. Ultimately, building your own electric skateboard provides a unique blend of practicality, education, and personal pride.
Essential Components for Your Electric Skateboard
Before you begin assembling, understanding the core components of an electric skateboard is crucial. Each part plays a vital role in its performance and safety. Selecting the right components ensures a smooth and powerful ride. Let’s explore these essential elements in detail:
The Deck: Your Foundation
The deck forms the base of your electric skateboard. It supports all other components and dictates your riding stance. Consider these factors when choosing a deck:
- Size: Longer decks generally offer more stability at higher speeds. They also provide ample space for mounting electronics. Shorter decks are more agile.
- Material: Common options include wood (maple ply), bamboo, and carbon fiber. Wood is affordable and flexible. Carbon fiber is lightweight and strong, but often more expensive.
- Shape: Drop-through decks lower your center of gravity, enhancing stability. Top-mount decks offer more leverage for carving. Kicktails provide maneuverability for tricks.
Ultimately, your choice depends on your preferred riding style and comfort.
Read Also: Walmart Electric Bike: Grab a Powerful Ride for Just $277!
Motors: The Powerhouse of Your Electric Skateboard
The motor drives your electric skateboard forward. Two main types dominate the DIY scene:
- Hub Motors: These motors integrate directly into the wheels. They offer a sleek, quiet, and low-maintenance design. Hub motors are excellent for a cleaner aesthetic.
- Belt-Driven Motors: These motors connect to the wheels via a pulley and belt system. They typically provide higher torque and more power, ideal for hills or off-road use. However, they require more maintenance due to the exposed belt.
Carefully consider your riding environment and performance needs when making this choice. Furthermore, match the motor’s KV rating (RPM per volt) to your desired speed and battery voltage.
Battery and ESC: The Brains and Heart
The battery supplies power, while the Electronic Speed Controller (ESC) manages it. Together, they are critical for your electric skateboard’s operation.
- Battery: Lithium-ion (Li-ion) batteries are the most popular choice. They offer a good balance of energy density, weight, and lifespan. The battery’s voltage (e.g., 10S, 12S) impacts top speed, and its capacity (mAh or Wh) determines range. Always include a Battery Management System (BMS) for safety and longevity.
- ESC (Electronic Speed Controller): The ESC controls motor speed, acceleration, and braking. A high-quality ESC, like a VESC (Variable Electronic Speed Controller), offers precise control and customization. It ensures smooth power delivery and efficient braking. Ensure your ESC is compatible with your chosen motor and battery voltage.
These components must work together seamlessly for optimal performance and safety.
Wheels and Trucks: Steering and Grip
Wheels and trucks connect your deck to the ground, providing steering and suspension. Consequently, choosing the right ones impacts ride quality.
- Wheels: Larger wheels (e.g., 90mm+) handle rough terrain and cracks better. Smaller wheels offer quicker acceleration and a lower ride height. Durometer (hardness) affects grip and shock absorption. Softer wheels provide more grip and a smoother ride.
- Trucks: Trucks are the axles that hold the wheels. Reverse Kingpin Trucks (RKP) are common for longboards and electric skateboards due to their stability at speed. Ensure the hanger width matches your deck for proper wheel clearance.
Properly chosen wheels and trucks enhance both comfort and control.
Remote Control: Your Command Center
A reliable wireless remote control is essential for operating your electric skateboard. It allows you to accelerate, brake, and sometimes even reverse. Look for a remote with:
- Ergonomics: It should feel comfortable in your hand during long rides.
- Reliable Connection: A stable connection prevents unexpected speed changes or braking issues.
- Battery Indicator: Knowing your remote’s battery level is important.
- Safety Features: Some remotes include dead man’s switches or customizable speed modes.
A good remote provides intuitive and responsive control over your custom build.
Tools You’ll Need for Your Electric Skateboard Build
Having the right tools simplifies the assembly process significantly. Gathering these items beforehand will make your build smoother and more enjoyable. Here is a list of essential tools:
- Soldering Iron and Solder: Necessary for creating secure electrical connections.
- Screwdrivers and Wrenches: For tightening bolts, mounting trucks, and securing enclosures.
- Drill and Drill Bits: To create holes for mounting components and routing wires.
- Heat Shrink Tubing or Electrical Tape: For insulating exposed wires and preventing short circuits.
- Wire Strippers/Cutters: For preparing wires for soldering or connections.
- Multimeter: Useful for checking voltage, continuity, and diagnosing electrical issues.
- Safety Glasses and Gloves: Always protect your eyes and hands during the build.
These tools will equip you for every stage of building your electric skateboard.
Sourcing Your Electric Skateboard Parts
Finding quality components for your electric skateboard is a key step. You have several options for sourcing parts, ranging from general marketplaces to specialized vendors. Consider these avenues:
- Online Marketplaces: Websites like Amazon and eBay offer a wide array of generic components. They are good for basic hardware or specific tools.
- Specialized E-Skate Retailers: Companies such as HobbyKing, Enertion (though now defunct, other similar stores exist), Torqueboards, and DIYElectricSkateboard.com (now MBoards) specialize in electric skateboard parts. These sites offer higher quality, purpose-built components and often provide excellent support.
- Community Forums: Online communities like the Electric Skateboard Builders Forum are great resources. Members often sell used parts or offer advice on where to find specific items.
- Complete DIY Kits: Some retailers offer comprehensive kits that include most or all necessary components. These kits simplify the sourcing process, especially for beginners.
Always prioritize reputable sellers and check reviews. Quality components ensure a safer and more reliable electric skateboard.
Planning Your Build: Key Decisions for Your Electric Skateboard
Before you start drilling, careful planning is essential. Making informed decisions now will save you time and frustration later. Consider these crucial aspects of your electric skateboard design:
Deck Style and Enclosure
Your deck choice impacts both ride feel and component housing. A longer, stiffer deck generally provides more space for batteries and ESCs. However, a flexible deck can offer a more comfortable ride. You will also need to decide on an enclosure type. Many builders use custom-made fiberglass or Kydex enclosures. Others opt for pre-made plastic or carbon fiber boxes. The enclosure must protect your electronics from dust, moisture, and impact.
Motor Configuration and Gearing
If you choose belt-driven motors, you must consider the motor count (single or dual) and gearing ratio. Dual motors offer more power and braking, especially for heavier riders or hilly terrain. The gear ratio between the motor pulley and wheel pulley determines your top speed and torque. A higher gear ratio provides more torque for acceleration but reduces top speed. Conversely, a lower ratio increases top speed but reduces torque. Proper gearing is vital for optimizing your electric skateboard’s performance.
Battery Selection and BMS Integration
Your battery setup significantly influences range and power. Decide on the cell count (e.g., 10S, 12S) and capacity (e.g., 5000mAh). A higher cell count means higher voltage and potential speed. Higher capacity provides more range. Crucially, integrate a Battery Management System (BMS). The BMS protects your battery from overcharging, over-discharging, and over-current. It also balances cell voltages, extending battery life and enhancing safety. Never operate a Li-ion battery pack without a BMS.
ESC and Remote Pairing
Ensure your chosen ESC is compatible with your motor and battery. VESC-based controllers offer advanced customization via software. This allows fine-tuning of acceleration, braking curves, and motor parameters. Pairing your remote control is usually a straightforward process, but follow the manufacturer’s instructions carefully. A reliable connection between the remote and ESC is paramount for safe operation of your electric skateboard.
Step-by-Step Guide to Building Your Electric Skateboard
With your components gathered and decisions made, it is time to bring your electric skateboard to life. Follow these steps carefully for a successful build.
Step 1: Preparing the Deck and Mounting Trucks
The foundation of your build starts with the deck. If your deck lacks pre-drilled holes for the trucks, you will need to create them. First, precisely mark the drill spots using a ruler and a template for even spacing. Then, carefully drill the holes, ensuring they match the size of your truck bolts. Next, attach the trucks to the deck. Use appropriate hardware and tighten all bolts securely. Remember, loose trucks compromise safety. Finally, apply grip tape to the top of your deck for traction.
Step 2: Installing the Motor(s) on Your Electric Skateboard
Motor installation varies depending on your chosen type:
- Hub Motors: These are generally simpler. Just attach the hub motor wheels directly to the trucks, similar to regular skateboard wheels. Ensure they are tightened properly.
- Belt-Driven Motors: Mount the motor to the deck using specialized motor mounts. These mounts often attach to the truck hanger. Next, install the motor pulley onto the motor shaft and the wheel pulley onto the wheel. Finally, connect the pulleys with the drive belt, ensuring proper tension. The belt should be snug but not overly tight.
Correct motor alignment is crucial for efficiency and to prevent premature wear.
Step 3: Wiring the Battery, ESC, and Other Electronics
This step requires careful attention to detail and safety. Firstly, mount the ESC and battery to the underside of the deck or within your chosen enclosure. Use strong adhesive or bolts to secure them. Secondly, connect the battery to the ESC, strictly observing positive and negative terminals. Incorrect polarity can damage components. Thirdly, attach the motor wires to the ESC. Most ESCs have color-coded terminals or clear labels. Finally, use heat shrink tubing or high-quality electrical tape to insulate all exposed wire connections. This prevents short circuits and protects your electric skateboard’s electronics.
Step 4: Testing and Adjusting Your Electric Skateboard Setup
Before your first ride, thorough testing is essential. Power on the ESC and battery. Check that all components receive power. Next, pair your remote control with the ESC according to the manufacturer’s instructions. Slowly test the motor by gradually increasing speed and then applying the brakes. Listen for unusual noises or vibrations. Adjust the ESC settings if acceleration or braking feels too aggressive or too weak. For example, many VESCs allow fine-tuning via a computer application. Once confident, take your electric skateboard for a short test ride in a very safe, open area. Confirm smooth operation and reliable braking.
Common Issues You Might Face (and How to Solve Them)
Even with careful planning, DIY builds can present challenges. Here are some common issues and their solutions for your electric skateboard:
ESC Tuning Problems
If your board accelerates erratically or brakes poorly, the ESC settings are likely incorrect. Solution: Consult your ESC manual or online resources for proper configuration. VESC users can connect to a computer and adjust parameters like motor detection, current limits, and braking strength. Start with conservative settings and gradually increase them.
Battery Issues and Range Problems
Poor range, overheating, or failure to hold a charge often points to battery problems. Solution: Ensure your battery pack is properly built and balanced by the BMS. Check all connections for loose wires or corrosion. If the battery is old, it might need replacement. Always store and charge Li-ion batteries safely.
Motor Alignment and Mounting Problems
Excessive vibration, grinding noises, or reduced power can indicate motor issues. Solution: Double-check that your motor mount is securely fastened and that the motor itself is tightly bolted. For belt-driven systems, ensure the motor pulley and wheel pulley are perfectly aligned. Adjust belt tension; too tight can strain components, too loose can slip.
Remote Control Connectivity
If your remote loses connection or behaves inconsistently, it could be interference or a faulty unit. Solution: Ensure the remote and receiver are properly paired. Check for any physical obstructions or strong electromagnetic interference in your riding environment. Sometimes, simply re-pairing or replacing the remote/receiver unit resolves the issue.
Maintenance Tips for Your Custom Electric Skateboard
Regular maintenance ensures the longevity and safety of your custom electric skateboard. Incorporate these practices into your routine:
- Regular Inspections: Before each ride, check all bolts, screws, and connections. Ensure everything is tight and secure.
- Battery Care: Store your battery at a moderate charge (around 50-60%) if not using it for extended periods. Avoid fully draining or overcharging it.
- Cleaning: Wipe down your board after rides, especially if you encounter dirt or moisture. Keep the motors and electronics free of debris.
- Belt Replacement: For belt-driven systems, inspect belts for wear and tear. Replace them if you notice cracks, fraying, or slipping.
- Wheel and Bearing Checks: Rotate your wheels to check for smooth spinning. Clean or replace bearings as needed.
Proactive maintenance prevents small issues from becoming major problems.
Safety First: Riding Your Electric Skateboard
Building your own electric skateboard is thrilling, but safety must always be your top priority. Adhering to safety guidelines protects you and others.
- Wear Protective Gear: Always wear a certified helmet. Knee pads, elbow pads, and wrist guards are also highly recommended.
- Test in Controlled Environments: Perform initial tests in a large, empty parking lot or a quiet, traffic-free area. Gradually increase speed and test braking.
- Understand Local Laws: Familiarize yourself with local regulations regarding electric skateboards. Laws vary by region and can affect where and how you can ride.
- Ride Defensively: Assume drivers and pedestrians do not see you. Maintain a safe distance from vehicles and be prepared to react quickly.
- Check Your Board Regularly: Before every ride, quickly inspect your board for loose components, battery charge, and brake functionality.
Safe riding practices ensure you enjoy your custom creation responsibly.
Enjoy Your Custom Electric Skateboard!
Congratulations! You have successfully built your very own electric skateboard from scratch. This achievement demonstrates your technical prowess and dedication. Now, it is time to enjoy the fruits of your labor. Experience the freedom of personal electric transport, knowing every component was chosen and assembled by you. Whether for daily commuting, leisurely rides, or exploring new paths, your custom board will deliver an exhilarating experience. Remember to prioritize safety, maintain your board diligently, and most importantly, have fun exploring with your unique creation!
Frequently Asked Questions (FAQs) About Building an Electric Skateboard
Q1: How much does it cost to build an electric skateboard?
A1: The cost varies widely depending on component quality and desired performance. A basic build might range from $500-$800, while a high-performance custom electric skateboard can cost $1,000-$2,000 or more. Sourcing used parts can help reduce costs.
Q2: Is building an electric skateboard difficult for a beginner?
A2: While it requires some technical understanding and patience, many beginners successfully build their own boards. Following detailed guides, watching tutorials, and utilizing online communities can make the process manageable. Starting with a DIY kit can also simplify things.
Q3: How long does it take to build an electric skateboard?
A3: The build time depends on your experience level and the complexity of your design. A basic build might take 15-30 hours spread over several days or weeks. More complex builds with custom enclosures and advanced wiring can take significantly longer.
Q4: What is the most important component for an electric skateboard?
A4: All components are important for a functional electric skateboard. However, the battery and ESC are often considered the heart and brain. A reliable battery provides range and power, while a quality ESC ensures smooth control and safety. Never compromise on these critical parts.
Q5: Can I use a regular skateboard deck for an electric skateboard?
A5: Yes, you can use a regular skateboard or longboard deck. However, longer and wider decks (like longboard decks) are generally preferred. They offer more stability and provide ample space to mount the battery, ESC, and other electronics underneath.